September 19, 2026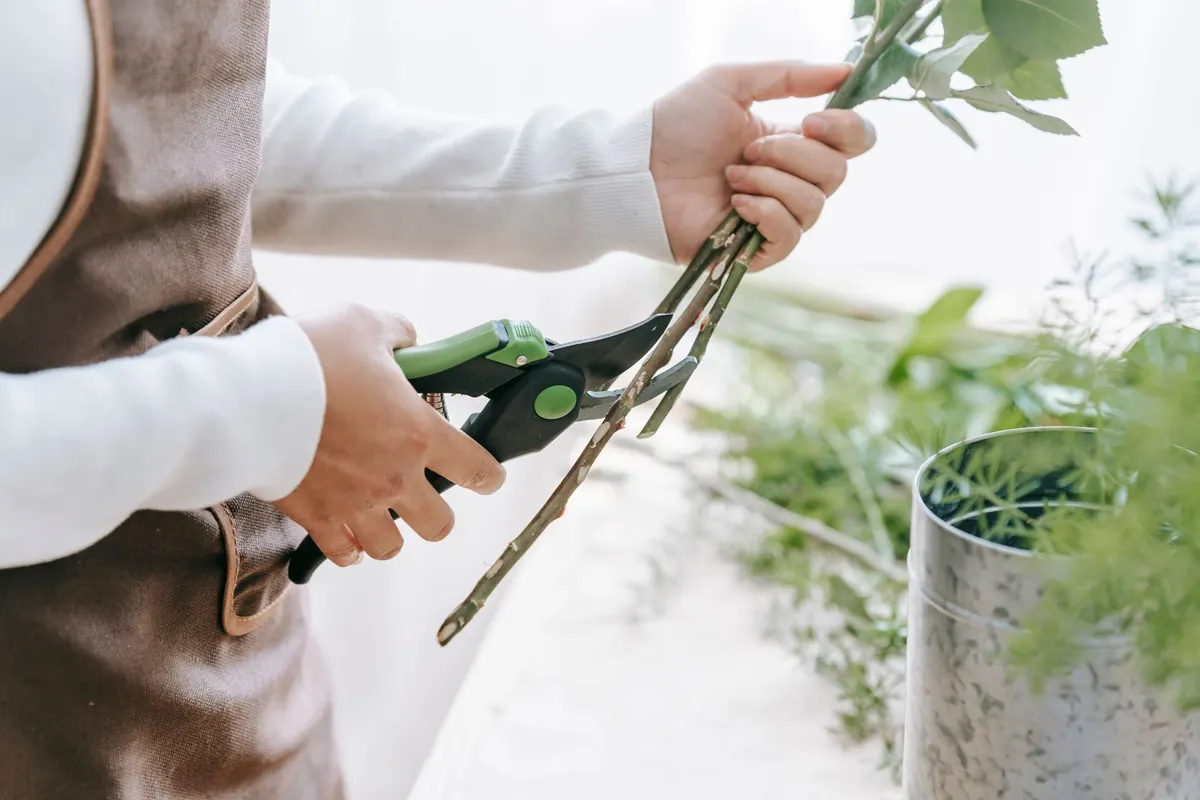
Most floral design workshops begin the same way: a long table covered in kraft paper, buckets of stock and eucalyptus, and one or two people quietly asking to borrow a pair of clippers. It is a small problem, and an easy one to prevent. Half an hour of packing the night before means you spend the class designing instead of improvising.
What follows is the checklist worth handing to anyone walking into a hands-on class for the first time, whether it is a two-hour seasonal arrangement workshop or a full day of wedding work. It covers the tools worth owning, how to handle flowers you are asked to bring, and how to dress for a few hours of stem trimming, water, and pollen.
Read the Supply List Before You Pack Anything
Instructors usually send an email a few days ahead with a materials list. That list beats any generic checklist, including this one. If the wording is vague, ask two specific questions: does the studio supply tools, and are students bringing their own flowers? The answers change your bag completely.
Classes generally fall into two types. Fully supplied workshops hand you shears, foam, tape, ribbon, and every stem you need, and you show up with little more than an apron. Bring-your-own-blooms classes ask you to source flowers, which means a Thursday trip to a market or a raid on your own garden. Know which one you booked before you buy anything.
The Core Toolkit
You do not need a professional kit to start. You need a few things that work well and fit in one tote bag.
- Floral shears or bypass pruners. Sharp, comfortable in your hand, and reserved for plants only. Kitchen scissors crush stems and dull quickly.
- A small bucket or sturdy vase. Flowers travel better in water than in a bag, and you will want something to carry your finished arrangement home in.
- A thin towel or rag. Wipe wet hands, dry stems, and protect your lap during the drive home.
- A notebook and pen. Recipe quantities and conditioning tips disappear from memory fast.
- An apron. Anything with a pocket works. You will reach for clippers fifty times an hour.
- Gloves if you have sensitive skin. Rose thorns and euphorbia sap are not friendly.
Skip the specialty gear for now. Wire cutters, floral knives, thorn strippers, and pin holders are worth buying once you know you will keep arranging. Many studios keep spares of these for students anyway.
What the studio almost always provides
Buckets, water, foam or chicken wire, containers, floral tape, bind wire, ribbon, and a cutting station. Some also keep a box of loaner tools. Ask rather than assume, but do not haul your entire craft cabinet across town.
Flowers and Greenery From Your Own Garden
If you are asked to bring botanicals, bring slightly more than you think you need. A useful rule: enough for one generous arrangement, plus three or four spare stems for the inevitable snapped delphinium.
Conditioning matters more than variety. Cut in the cool of the morning or the evening, take stems at an angle with clean shears, and strip every leaf that would sit below the waterline. Stand them in cool water for at least two hours before class, ideally overnight, somewhere out of direct sun. A damp towel over the bucket keeps them happy in a warm car.
Two cautions. Check what is welcome: some studios restrict invasive species or anything likely to shed pests indoors, so give your cutting a shake and a look before it goes in the bucket. And label your bucket with tape and your name, because every black bucket looks identical at the end of a workshop.
What to Wear, and What to Leave at Home
Dress for a wet floor and green stains.
- Closed-toe shoes with a decent grip. Water ends up everywhere.
- Clothes you would not grieve over. Sap, dye, and pollen do not come out. Avoid loose sleeves, trailing scarves, and statement jewellery that catches on stems.
- Layers. Studios run cold in the morning and warm once twenty people are trimming stems.
- A hair tie if you have long hair. You will lean over a table repeatedly.
Leave the strong perfume at home. You are there to smell the flowers, and some classmates are sensitive. Remove rings with high settings before you start wiring or taping, and keep nails reasonably short if you can. None of this is a rule, but all of it makes the work easier.
If you have allergies
Tell the instructor before class starts, sit away from the heaviest pollen if you can choose, and bring whatever you normally rely on. For anything more than mild seasonal sniffles, talk to your doctor about a plan rather than guessing on the day.
Optional Extras That Earn Their Place
Once the essentials are in the bag, these small items make a long class more comfortable: a water bottle, a snack, a phone for photographing your work, a plastic bag for trimmings, adhesive bandages, hand cream for chapped fingers, and a little cash or a card in case the studio sells extra blooms or supplies at the end. A shallow cardboard box lined with a towel is the unsung hero of transport day, since finished arrangements tip over on car seats far more often than people expect. In warm weather, keep the arrangement in the passenger footwell with the air conditioning on rather than in the trunk.
Pack the Night Before
- Reread the instructor's email and note anything specific it asks for.
- Wipe and sharpen your shears. Dull blades bruise stems.
- Condition any flowers you are bringing and get them into water.
- Bag the tools, apron, towel, and notebook together so nothing is left on the kitchen counter.
- Set out your clothes and shoes by the door.
Arriving Ready to Work
Turn up ten minutes early. Find your spot, set your bucket on the floor rather than the table, and keep a small pile for trimmings within easy reach so you are not walking across the room every few minutes. Introduce yourself to whoever is beside you; workshops are more fun when you know one name.
Then relax into it. A class is not a test, and no arrangement has to look like the sample. Trim, place, step back, adjust. Bring the checklist, and the only thing left to think about is where the next stem goes.
Photo: Teona Swift / Pexels