October 01, 2026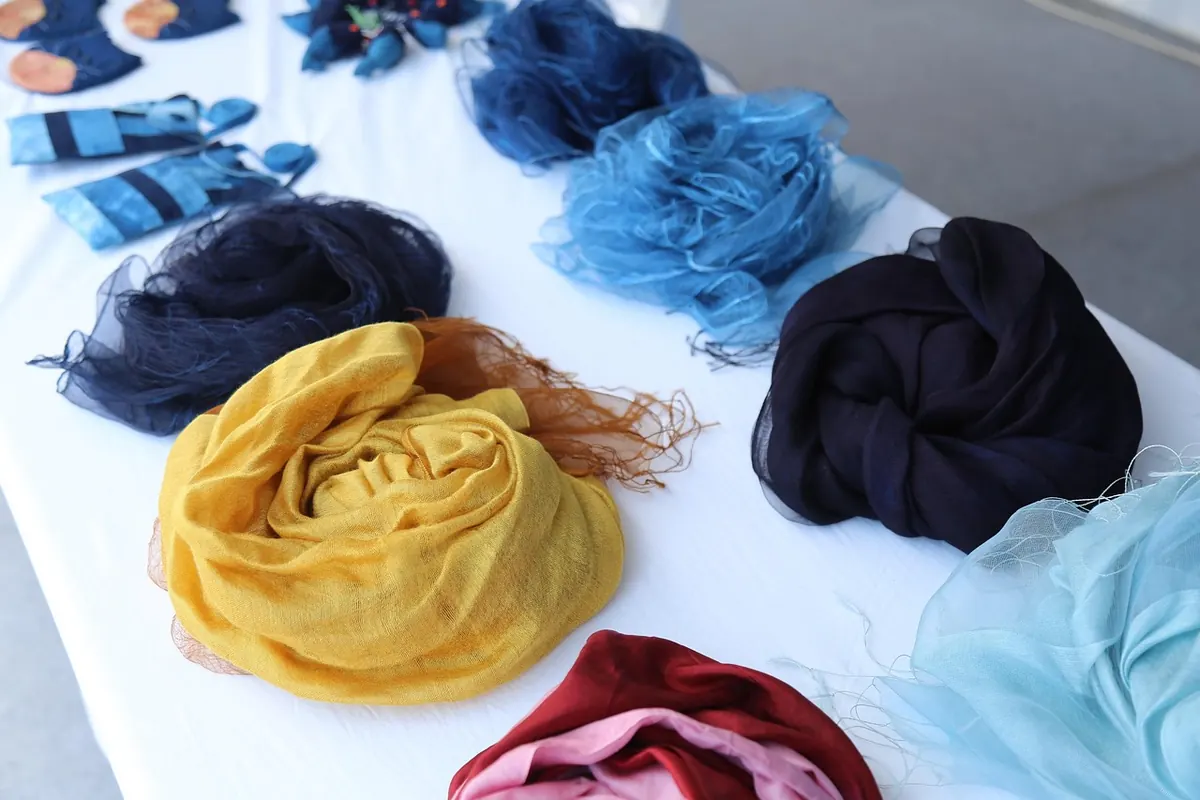
The first time you lift a skein of wool out of a pot of simmering onion skins and watch it turn the colour of beeswax, something clicks. Natural dyeing is slow, forgiving, and cheap to try. You do not need a studio, a chemistry set, or a supplier account. A stainless steel pot, a few plants, and a kitchen scale will carry you a long way.
What follows is the order that actually matters: pick your dyestuff, prepare the fibre so colour will hold, understand mordants, then dye. Most disappointing results come from skipping step two, not from choosing the wrong plant.
Start With Plants You Already Have
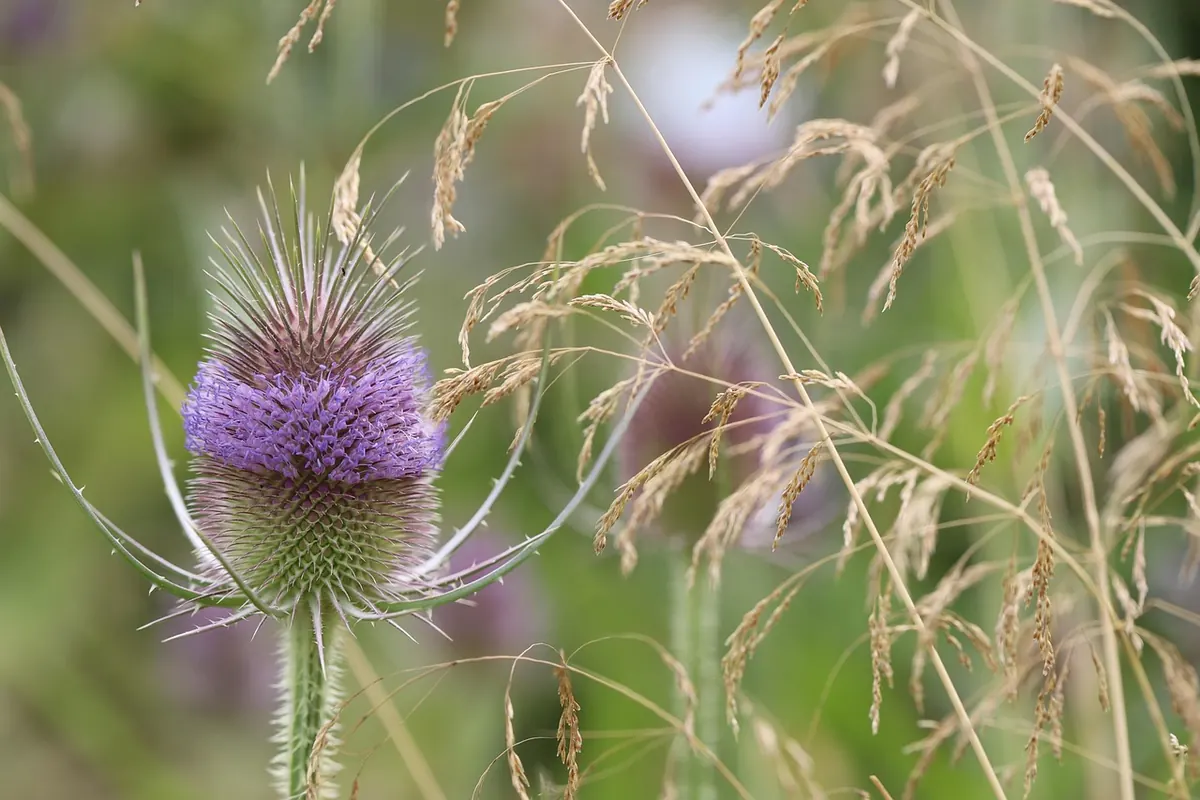
Before you order anything, raid the kitchen. Onion skins produce warm golds and coppers. Avocado skins and stones give a soft blush pink, which surprises almost everyone given how green the fruit is. Pomegranate rinds yield yellow, and black walnut hulls give a deep, serious brown. From the garden, marigold petals and coreopsis are reliable yellows, while madder root is the classic for brick red and weld for a clear, bright yellow. Logwood takes you into purples and greys. Cochineal is an insect rather than a plant, but it remains the standard for strong pinks and true reds.
One warning worth heeding early: some dyes look spectacular in the pot and fade within weeks on a windowsill. Turmeric and red cabbage are the usual offenders. Before you commit a whole project to a dyestuff, dye a small sample, hang it in daylight for a fortnight, and see what survives.
- Easy wins: onion skins, avocado, marigold, black walnut, pomegranate
- Worth buying: madder, weld, logwood, cochineal, indigo
- Treat as experiments: turmeric, red cabbage, beetroot, berries
Know Your Fibre Before You Know Your Dyestuff
Fibres fall into two camps, and they behave differently. Protein fibres — wool, silk, alpaca, mohair — grab dye readily and are the friendliest place to begin. Cellulose fibres — cotton, linen, hemp — are stubborn. They usually need a tannin step before mordanting, which is why a cotton shirt dyed alongside a wool scarf often comes out several shades paler.
Either way, the fibre must be scoured first. Scouring removes oils, spinning residue, and the sizing that manufacturers apply. Dye cannot penetrate what it cannot reach.
Scouring at home
- Wool and silk: warm water with a pH-neutral soap, gentle handling, no sudden temperature changes. Agitation plus heat equals felt.
- Cotton and linen: hotter water with a little soda ash and soap, simmered for around half an hour, then rinsed until the water runs clear.
- Always wet fibre thoroughly before it goes anywhere near a mordant or dye bath. Dry fibre takes up chemicals unevenly.
Mordants: The Step Beginners Skip
A mordant is a metal salt that bonds dyestuff to fibre. Without one, much of your colour rinses straight down the drain. Alum is the workhorse: inexpensive, widely available, and it leaves colours close to what you see in the pot. Cream of tartar is often added alongside it to brighten results and soften the hand of wool. Iron deepens and saddens colours, pushing yellows toward olive and greys toward charcoal. Copper shifts things green.
A common starting point for alum is roughly ten to fifteen percent of the dry weight of the fibre, with cream of tartar at around five to six percent. Weigh the fibre dry, write the numbers down, and keep them. Dissolve the mordant in hot water, add the wet fibre, hold it at a gentle heat for about an hour without boiling, then let it cool in the bath, ideally overnight. Fibre can be mordanted, dried, and stored for weeks before you dye it.
Iron and copper are powerful and easy to overdo. A brief dip is usually enough; long soaking can make wool brittle. If you have asthma, allergies, or are pregnant, speak to a doctor before handling powdered mordants.
Building a Dye Bath
- Weigh your plant material. As a rough guide, use about the same weight of fresh plant matter as dry fibre; roots and concentrated dyestuffs go further.
- Simmer the plant material in soft water for thirty to sixty minutes, then strain it out. Hard water dulls many colours, so filtered or rainwater helps.
- Add your wet, mordanted fibre to the strained bath. Keep wool below a simmer — around 80°C is plenty — and stir only occasionally and gently.
- Hold for thirty to sixty minutes, then turn off the heat and let the fibre cool in the bath. Overnight cooling often deepens the shade noticeably.
- Rinse in water of a similar temperature, gradually working toward cool, until the water runs clear. Dry in shade.
Modifiers, Overdyeing, and Second Baths
A modifier is a quick after-bath that shifts colour. Dipping a dyed skein into a weak iron solution turns a yellow olive and a pink dusty rose. A splash of vinegar can brighten some dyes; a little soda ash can push others toward green or gold. Modifiers work fast, so dip for seconds, not minutes, and rinse well afterwards.
Overdyeing is how you build a personal palette. Dye a skein yellow with weld, then put it in an indigo vat and you have green. Dye it madder first, then indigo, and you have a deep plum. Keep a notebook with fibre weight, dyestuff, mordant, temperatures, and timings. In a year it will be the most valuable thing in your workshop.
Set Up a Safe Dye Space
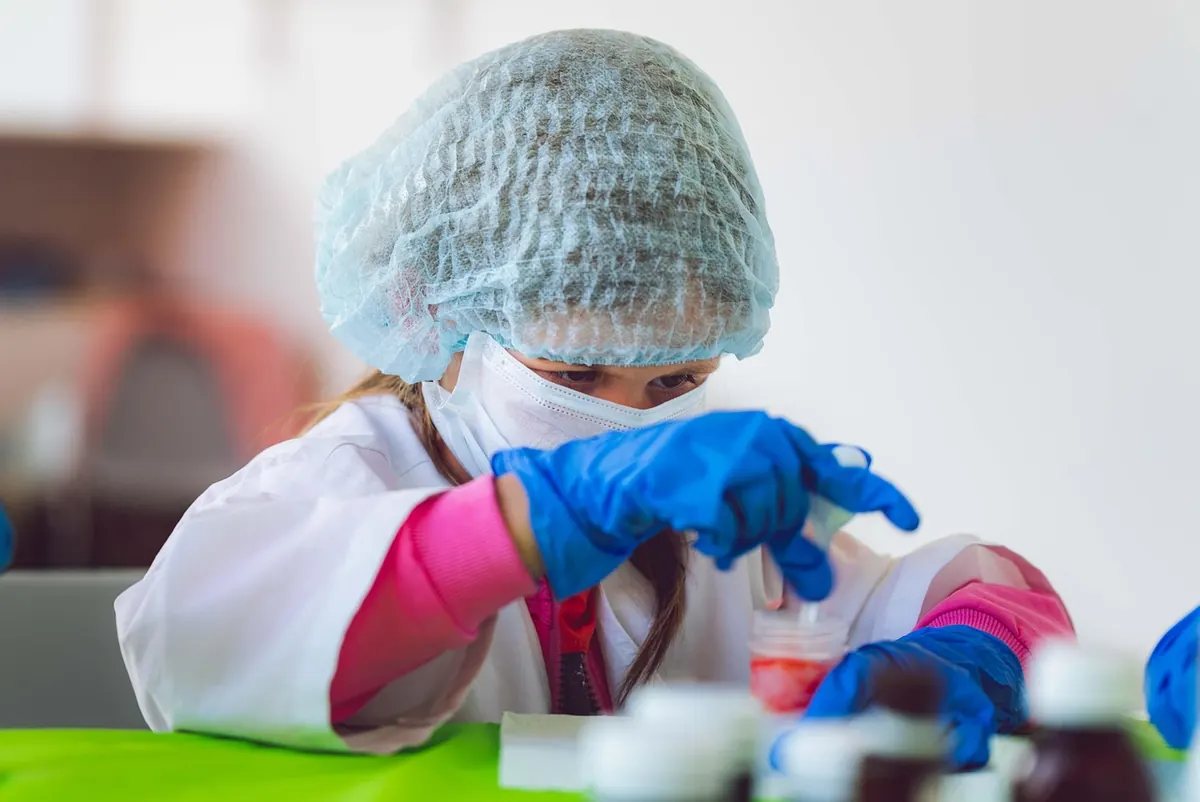
Natural does not automatically mean harmless. Mordants are metal salts, and powdered dyestuffs are fine dust you would rather not breathe. A few habits keep the craft enjoyable for decades.
- Keep dedicated pots, spoons, sieves, and measuring jugs for dyeing. Never return them to the kitchen.
- Wear gloves and an apron. Wear a dust mask when weighing powders.
- Work near an open window or outdoors, especially when simmering.
- Label every jar and bottle with its contents. Unmarked white powder is a hazard to everyone in the house.
- Store everything out of reach of children and pets.
- Let spent baths cool, then dispose of them thoughtfully. Check your local rules before pouring mordant water onto soil or down a drain.
- Wash hands and surfaces when you finish, and don't eat or drink at the dye pot.
Your First Pot
Pick one fibre you know well — a ball of undyed wool is ideal — and one dyestuff you can get for free. Onion skins are the classic first run. Scour, mordant with alum, simmer, cool overnight, rinse, and dry. You will end up with a colour you could not have bought, and a set of notes you can repeat.
From there, change one variable at a time. Swap the mordant, add an iron dip, try the same bath on cotton. Natural dyeing rewards patience far more than equipment, and the pots you get wrong will teach you faster than the ones you get right.
Photo: jekar1588 / Pixabay